Identifying the Source of the Squeak

Before you can fix a squeaky bathroom floor, you need to figure out where the noise is coming from. Squeaks often indicate movement or friction between different parts of the floor structure.
Common Causes of Squeaky Bathroom Floors
The most common causes of squeaky bathroom floors are:
- Loose floorboards: Over time, floorboards can become loose from the subfloor or joists due to foot traffic, moisture, or shifting foundations. This movement creates friction, resulting in squeaking.
- Separating subfloor and joists: The subfloor is a layer of plywood or OSB that sits on top of the joists. If the subfloor and joists separate, the movement can cause squeaking.
- Friction between floorboards: Floorboards can rub against each other, especially in areas with high traffic, causing squeaking. This is more common with older floors or those made from softer wood.
Identifying the Source of the Squeak
To determine the source of the squeak, you’ll need to do some detective work. Here’s a step-by-step guide:
- Isolate the squeak: Walk around the bathroom, paying close attention to where the squeak occurs. Try to pinpoint the exact spot on the floor where the noise is loudest.
- Use a flashlight: Once you’ve identified the general area, shine a flashlight underneath the floorboards to see if you can spot any loose boards or gaps between the subfloor and joists.
- Tap with a rubber mallet: Gently tap on the floorboards in the area of the squeak. If you hear the noise, you’ve likely found the culprit. You can also use a rubber mallet to test the floorboards for looseness by tapping on them and listening for a hollow sound.
- Inspect the surrounding area: Look for any signs of water damage or structural issues that could be contributing to the squeak. Water damage can weaken the subfloor and joists, leading to movement and squeaking. Structural issues, such as a sagging subfloor or cracked joists, can also cause squeaks.
Fixing the Squeaky Floor

Once you’ve identified the source of the squeak, you can move on to fixing it. There are a few different methods you can use, each with its own pros and cons. We’ll explore the most common methods, including using screws or nails, wood shims, and construction adhesive.
Securing Floorboards with Screws or Nails
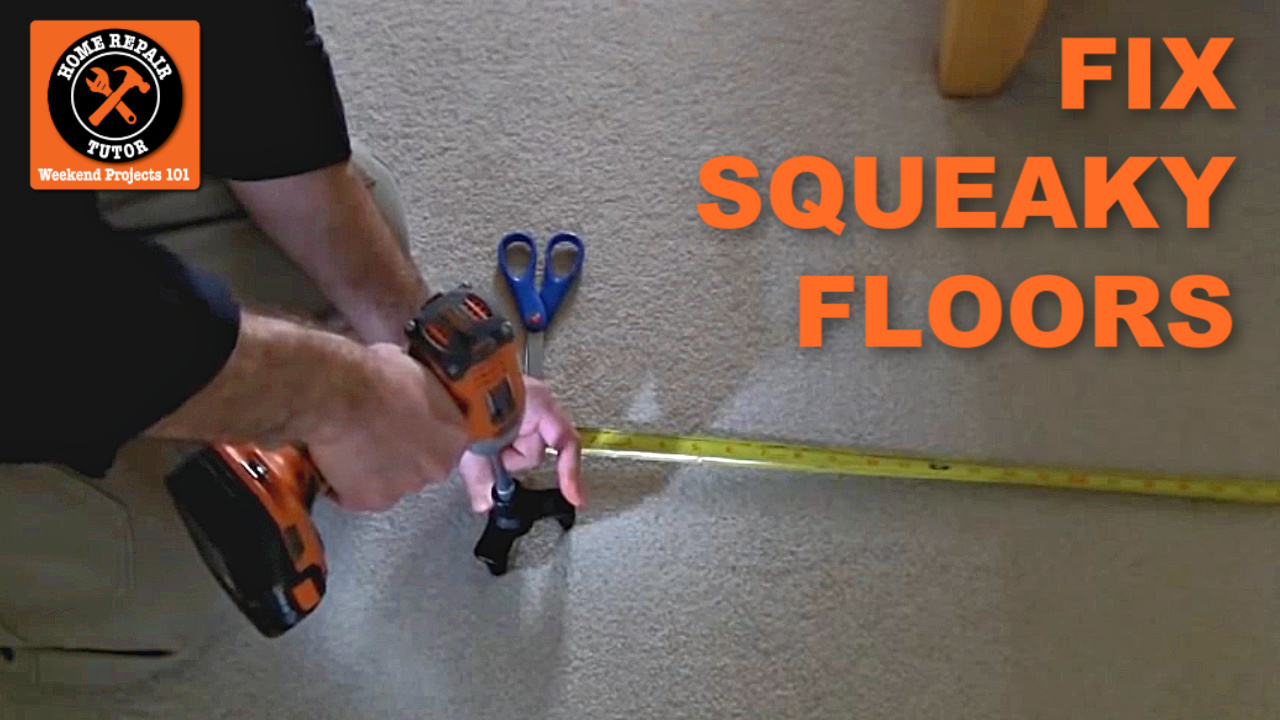
Using screws or nails is a common and effective way to fix squeaky floorboards. This method involves securing the loose floorboard to the joist below.
Here’s a step-by-step guide:
- Locate the joist: Use a stud finder to pinpoint the joist supporting the squeaky floorboard. Mark the location with a pencil.
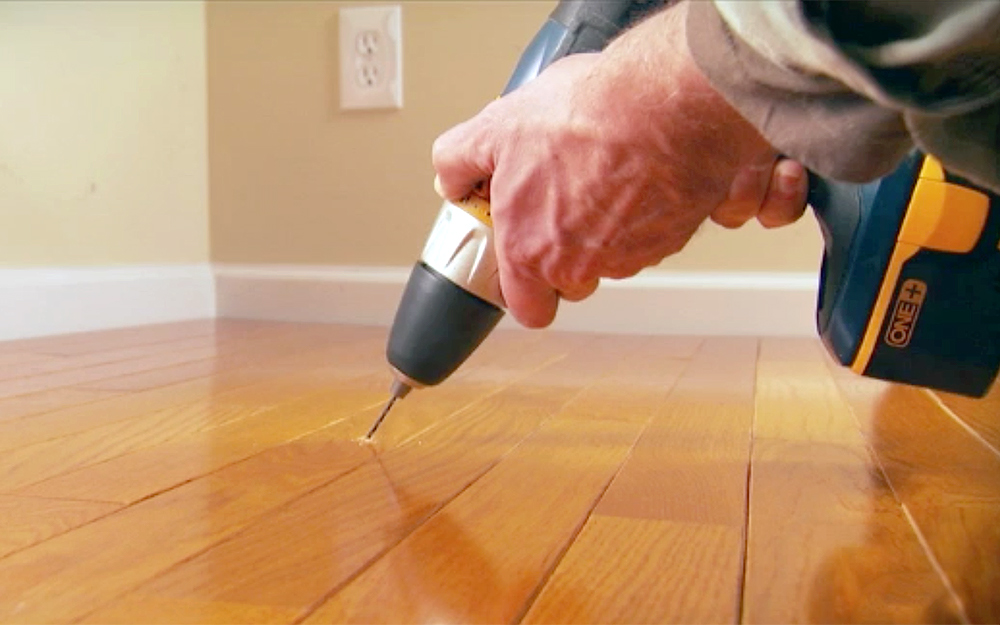
- Drill pilot holes: Drill pilot holes slightly smaller than the diameter of the screws or nails you’ll be using. This helps prevent the wood from splitting.
- Drive screws or nails: Drive the screws or nails through the floorboard and into the joist. Make sure to drive them straight and avoid over-tightening, which can also cause damage.
- Countersink screws (optional): If using screws, countersinking them can improve the appearance and prevent snags on the floor surface.
- Fill holes (optional): Fill any holes with wood filler, sand smooth, and paint or stain to match the floor.
Using Wood Shims to Stabilize Loose Floorboards
Wood shims are thin pieces of wood used to fill gaps and create a tighter fit between the floorboard and the joist. This method is particularly useful when the floorboard is slightly loose but not completely detached.
Here’s how to use wood shims:
- Identify the gap: Determine the location and size of the gap between the floorboard and the joist.
- Cut shims to size: Cut shims to fit snugly into the gap.
- Insert shims: Insert the shims between the floorboard and the joist.
- Secure shims: Secure the shims in place with screws or nails.
- Test the floor: Test the floorboard to ensure it is securely attached and the squeak is gone.
Applying Construction Adhesive to Secure Loose Floorboards, How to fix squeaky bathroom floor
Construction adhesive is a strong, durable adhesive that can be used to secure loose floorboards. This method is effective when the floorboard is completely detached or when the gap between the floorboard and the joist is too large for shims.
Here’s how to apply construction adhesive:
- Prepare the surfaces: Clean the surfaces of the floorboard and the joist to ensure proper adhesion.
- Apply adhesive: Apply a bead of construction adhesive to the underside of the floorboard.
- Position the floorboard: Carefully position the floorboard over the joist and press firmly to ensure good contact.
- Weight the floorboard: Weight the floorboard down with heavy objects to allow the adhesive to cure.
- Wait for curing: Follow the manufacturer’s instructions for curing time.
Comparing Methods for Fixing Squeaky Floors
| Method | Effectiveness | Cost |
|---|---|---|
| Screws or Nails | Highly effective | Low |
| Wood Shims | Effective for minor gaps | Low |
| Construction Adhesive | Very effective for loose floorboards | Moderate |
Preventing Future Squeaks: How To Fix Squeaky Bathroom Floor

Once you’ve successfully silenced those annoying squeaks, it’s time to take steps to prevent them from returning. By implementing a few preventative measures, you can enjoy a quiet and peaceful bathroom for years to come.
Moisture-Resistant Materials and Proper Ventilation
Moisture is a major culprit in bathroom floor squeaks. Water can seep into wood subfloors, causing them to warp and expand, leading to movement and squeaking. Using moisture-resistant materials and ensuring proper ventilation is crucial for preventing these issues.
- Choose Moisture-Resistant Flooring: Opt for flooring materials designed to withstand moisture, such as tile, engineered hardwood with a moisture-resistant core, or waterproof vinyl plank flooring. These materials are less susceptible to warping and expansion caused by moisture.
- Utilize Moisture-Resistant Subflooring: Employ moisture-resistant plywood or treated lumber for the subfloor. These materials are specifically designed to handle moisture and minimize warping.
- Ensure Adequate Ventilation: A well-ventilated bathroom is essential for preventing moisture buildup. Install a powerful exhaust fan to remove steam and humidity quickly. The fan should be vented to the exterior of the house, not into the attic or other areas.
Moisture Barrier
Installing a moisture barrier beneath the flooring provides an extra layer of protection against water damage.
- Purpose of a Moisture Barrier: A moisture barrier acts as a shield, preventing moisture from penetrating the subfloor and reaching the flooring. This helps to prevent warping, rot, and squeaking.
- Types of Moisture Barriers: Common moisture barrier materials include plastic sheeting, vapor retarder, or a specialized membrane designed for bathroom applications.
- Installation: The moisture barrier should be installed directly on the subfloor, extending up the walls slightly to create a seal. Overlap the sheets by at least 6 inches to ensure complete coverage.
Avoiding Heavy Furniture
Heavy furniture can put excessive stress on bathroom floors, leading to squeaking and structural damage.
- Distribute Weight: If you must place heavy furniture in the bathroom, consider distributing the weight by using a rug or mat underneath. This can help to reduce the pressure on the floor.
- Use Furniture Pads: Place furniture pads or felt pads under the legs of furniture to minimize friction and prevent scratching the floor. This also helps to distribute the weight more evenly.
- Limit Heavy Items: If possible, limit the number of heavy items in the bathroom. Consider using lighter alternatives, such as glass shelves or wall-mounted storage units.